Wednesday, November 16, 2011

Carly's House~ Before & Afters

Carly bought a house!
Carly is my best buddy from college and when she called to tell me the news my wheels immediately started turning. She sent photos right away and WOW... I had my work cut out for me. The bones of the house were beautiful but the details added from the previous owner were super traditional and heavy. I know Carly's style and everything had to be changed on a (young girl that just bought a house by herself) budget!


Car's email from the beginning of the design process started like this...


"I'm a bit overwhelmed... I must say. I think sometimes I have good taste and that I should try to design something for myself and then I realize I need to stick with Environmental Education. : )"


Haha, don't worry Car... I got this! Love you.


master bedroom
Last weekend I went to visit and saw the house for the first time. I was nervous to see the outcome because everything was done super fast over email.
I loved it... I loved that she listened to everything I said, bought everything I told her to buy and most of all, that it looked like her!

note: I wanted to show the master bedroom first because it shows her style perfectly. We blended very clean lines with multiple textures, patterns and bold colors. 
When I introduced her to the decal sites she was in love!  This is one of the many throughout the house.

note: www.dalidecals.com and www.whatisblik.com
 are two of my favs!

This patterned Target chair sits next to the door to the MBR deck... perfect for her to crochet and see the woods in her backyard. 

First things first for the entire home. ALL moulding was to be painted a crisp and clean white.

tip: I used the color from the accent wall and carried it up to the tray ceiling to bring your eye up and create height.
 
 The very SCARY before photo of the Master bedroom
note: The moulding, tray ceiling, paint color... well everything, was just wrong!

                                                                                                               
guest room #1
The guest rooms are small and both needed daybeds. No one does a better looking daybed than West Elm.
The best part... she found it on Craiglist!

West Elm dresser
Target comforter and accent rug... 
Love the prints and patterns from Dwell Studio
Designer look for cheap!

 Another scary before photo of guest room #1
note: I made sure the chair rail moulding was pulled from this room.


guest room #2
I wanted her guests to feel comfortable and relaxed. I thought that giving the room these white accents would create a "spa like" feel and leave one feeling very "zen."

note: West Elm Pull-out Sofa and Nightstands
Target Dwell Studio Area Rug
Target lamps

Love the cable knit throw... so cozy!

The natural avocado colored walls surround the room. One of my favorite colorways... my own Master bedroom! 

Target dresser

Since Carly ALWAYS has guests, Jake (her thoughtful boyfriend) had this guest book made for her from Etsy as a birthday gift. The November birthday flower, Chrysanthemum, is on the cover! Guests can sign it and write a message about their stay in Gettysburg. So cute! 


We love it!

Before photo guest bedroom #2... Ohhh, heavens! 
All I have to say about that!


entryway
This was a fun surprise when I walked in... Car and her new love of decals added these bare trees. 

Looks awesome!
                                            
                                                                                                                                 home office
When you first walk into the home this dining room was on the right. Carly wanted it to be her home office.
 My first thought... GALLERY WALL!

note: She has traveled to some of the most amazing places in the world... she can display her favorite shots here. 


I chose a taupe color similar to the one in my home office but a bit warmer. Love the way the photos "pop" and really make a statement.

Area Rug: Home Decorators Collection

Personal touches... beautiful!


 side note:
I loved visiting Gettysburg... the little square, driving through the battlefields and stopping at the barn.


 photo: Carly calling in her gorgeous horse, Roe, from the pasture. 

A few shakes from the food bucket and they slowly made their way in... Roe is still hanging out in the back ground. 

Loved this old barn... so beautiful out there!

If you live out-of-town and would like online design consulting email me at: mmmdesignsinteriors@gmail.com

Super easy and a lot of fun... just send pics and dimensions.

Have a good one!


Melis

Tuesday, November 8, 2011

Shockoe Design District~ Designer Chat

Oh, heavens... I'm on a poster!

I was asked to participate in the first Shockoe Design District festivities to speak about "Design on a Budget" in a "Designer Chat!"
It was a lot of fun and I'm excited for the next event!
                                                                  

Sarah Paxton (photo above) and her husband, Andy Thornton, are owners of LaDifference, an amazing contemporary furniture store in Richmond, VA. One of the largest on the east coast! Their goal of gathering creative people, to teach, play, create, sell and celebrate art in its many forms, was accomplished on Saturday, November 5th.

For details read: Create a place for Inspiration
I had a great time meeting new people and presenting my ideas and tips for the budget conscious.
After the presentation some of the guests stuck around to share tips from each other. It was awesome to hear the creative ideas from others. Everyone was so appreciative and inspired... the "chat" was really fun and a definite success. 


I started the presentation with, "Designer Home Tips" and showed them ideas that I have used in my own home.

note: Notice the neutral color palette in the center of the board. I always suggest using nuetral colors so that the pieces of upholstery, carpet and paint can live with you for a long time.

tip: The color pops in when you paint accent walls, add toss pillows, area rugs, etc. That way if you ever get bored you can simply switch out the accents. It will completely change the look of the space.
Next, I talked about Doak's Nursery.
 Total for the entire room $650.


For Details go to:
"Doak's Nursery", "Doak's Nursery, Before and Afters" and "Orange Rocker".

I also wanted to show the guests a commercial project, The Hat Factory-Club and Lounge, that I am working on now. In this case the furniture and fabrics need to be contract grade which causes the budget to fly sky high. I found a company that could provide us with all of the furniture needed, for the 2nd floor exclusive lounge area, for under 10K.

note: I will show details in a future post. The new name of the club and design will be presented for their New Years Eve party! 

side note:
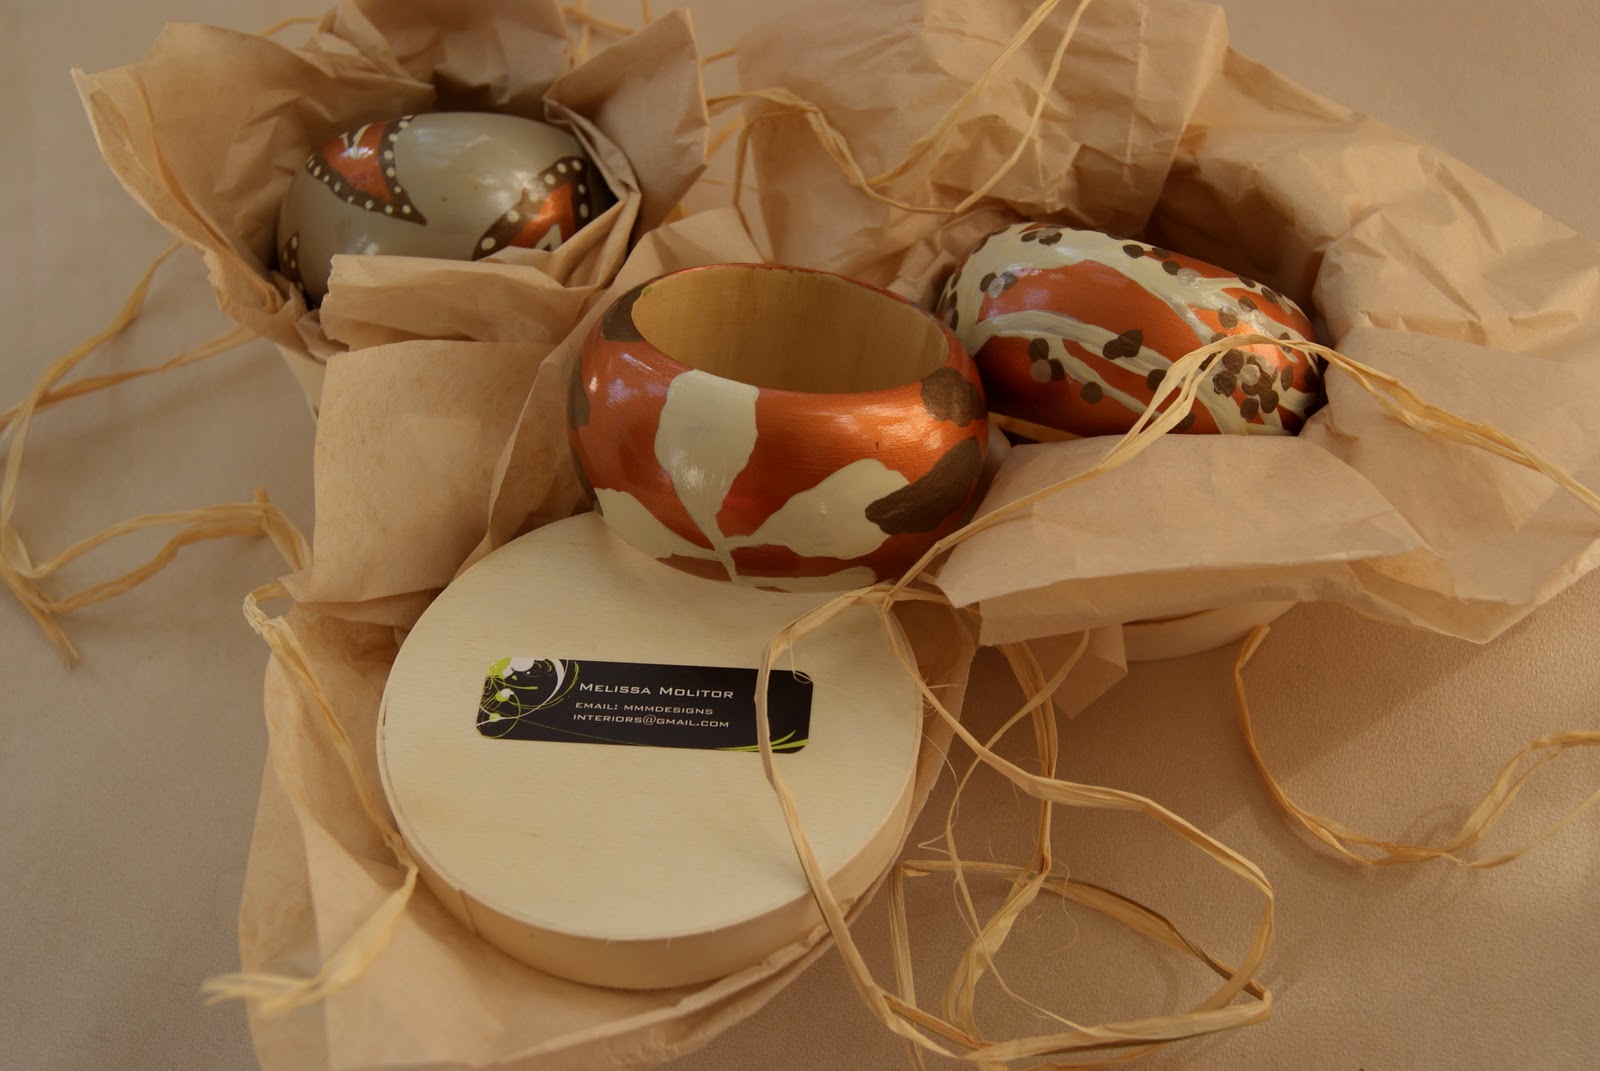
After the presentation I had everyone open a card thanking them for coming to the "Design Chat!" There were three card that had numbers inside of my logo. If you received a card with a number you won a painted bangle from my fall line! 

They were a big hit! : )

The holidays are coming up...
If you are interested check out: 

www.mmmdesigns-jewelry.com 

Have a good one!
Melis


Wednesday, November 2, 2011

Master Bedroom [Re]design

My client wanted me to give her Master Bedroom (before photo above) an updated look by using her existing items. Below I will show you the ways that I have created a modern/vintage chic space by using the same pieces and only buying a few key pieces.

note: In this photo the drapery panels and the bed skirt have a layer of sheer lace fabric.   

note: Remove the lace fabric to clean up the look and brighten the space. Add some black and white patterned accent sheets folded over to be seen at all times.  

note: Change the gold mirror and art frame to a glossy black.

note: Change chair and ottoman to a one piece chaise lounge. The 2 piece is too large. Move armoire down to make the room feel more open.


START OF [RE]DESIGN!
My client wanted to keep the bed caddy-corner so she could see outside and it felt comfortable to her. So we moved it slightly to the right to open up the space on the "window" side.

note: Notice chaise with new pillows from HomeGoods! Fresh, clean lines and definitely more modern.

I added a black and white pattern sheet folded over and pillow shams to match.

note: We wanted to add black and white to the room so that it "flowed" with the rest of her home. We designed the first floor with black and white pattern accents on pillows and ottomans with red accents.


tip: New pillows with different shades of purple were added as well. When using a purple color palette it is best to use multiple shades instead of the same color throughout. Otherwise it will look a bit juvenile.


Here are some great pieces that I was able to keep and work with... the chest was hiding behind her bed! Amazing piece... especially when I paint it black! 

The mirror was a friend of hers and has special meaning. I love the frame and knew that a coat of gloss black spray paint would give it the modern glam look we were going for!

Rust-Oleum and I have a very special relationship... I can always count on it for budget conscious projects! I love it.

tip: Always use Primer Spray Paint first- 2x Ultra Cover is the BEST! 

LOVE.


These are some other items that we saved. The jewelry box was her mothers and the accent table we found in her storage garage. Paint, paint, paint!!!

Primer Spray Paint first and let dry.

As I waited for the primer to dry on the furniture I moved onto this piece of art. My client loved the beach scene but was willing to change the frame...
I used the same shiny black spray paint to match the mirror. They will be on opposite sides of the room and really bring everything together.

tip: I used plastic bags and masking tape to cover the painting. Prep takes longer but the spraying is faster.
That way when you spray the frame you won't worry about spraying the painting. I also did it with the mirror. The paint will come off the mirror but it is easier this way. 


Looks great and the lavender colors in the painting stand out even more.

I planned on using a black matte for the accent table but when I saw the sample paints that my client have purchased for the Master bathroom I figured why not get some use out of them. 

We picked a gorgeous "dusty" lavender color for the master bathroom and had all of this sample paint left over... so I used it! 

We both loved the accent table and the jewelry box in the different shades of lavender. The looked very vintage chic against the black modern frames. 

When I got the accent table out of storage I said, "we can paint this and change the hardware." But now that the piece is painted I love the rabbit handle... it stands out now. 

The hidden chest... stunning in black!

note: I am going to place this in front of her bed... she can put extra sheet and pillows in it for storage. AND it's a perfect table for her tray when she gets breakfast in bed! 

I am so excited to get these pieces back into the bedroom and finalize the look. (We put them in the garage to dry)

note: I will have a follow up post when the room in complete...
Can't wait!

TO BE CONTINUED...

                          side note:
We also found these frames in storage. My client asked me if they were too traditional and that she'd be willing to get new frames. I said just the opposite... Take the art out and create an artless frame wall and paint the frames charcoal or maybe even the lavender shades from above, who knows...
They are amazing!


If you are in Richmond this weekend come down to Shockoe Bottom and LaDifference for the first Shockoe Design District festivities!

I will be speaking about "Design on a Budget."
See below

Have a good one!
Melis